Your iPhone charger happens to be the most frequently used accessory in your daily life. If it happens to malfunction and stops working, it really disturbs your entire routine, as you won't be able to charge your iPhone. This comprehensive and useful guide will help you find out and even repair the commonly occurring problems associated with an iPhone charger. From step-by-step instructions and handy tips to preventive measures, you will have the solution for most problems at hand and thereby save your valuable time and money.
Why Is Your iPhone Charger Not Working?
Your iPhone charger may not be working efficiently due to several reasons. Identifying the root cause of the issue is the first step to repairing it. Here are the most common reasons:
- Physical Damage: Worn out or broken wires, a bent connector, or a cracked adapter.
- Blocking in the Charging Port: Dust, lint, or debris that obstructs the connection.
- Software Problem: A glitch or outdated iOS causes interference in charging.
- Power Source Issues: Defective wall sockets or power spikes may interfere with your charger.
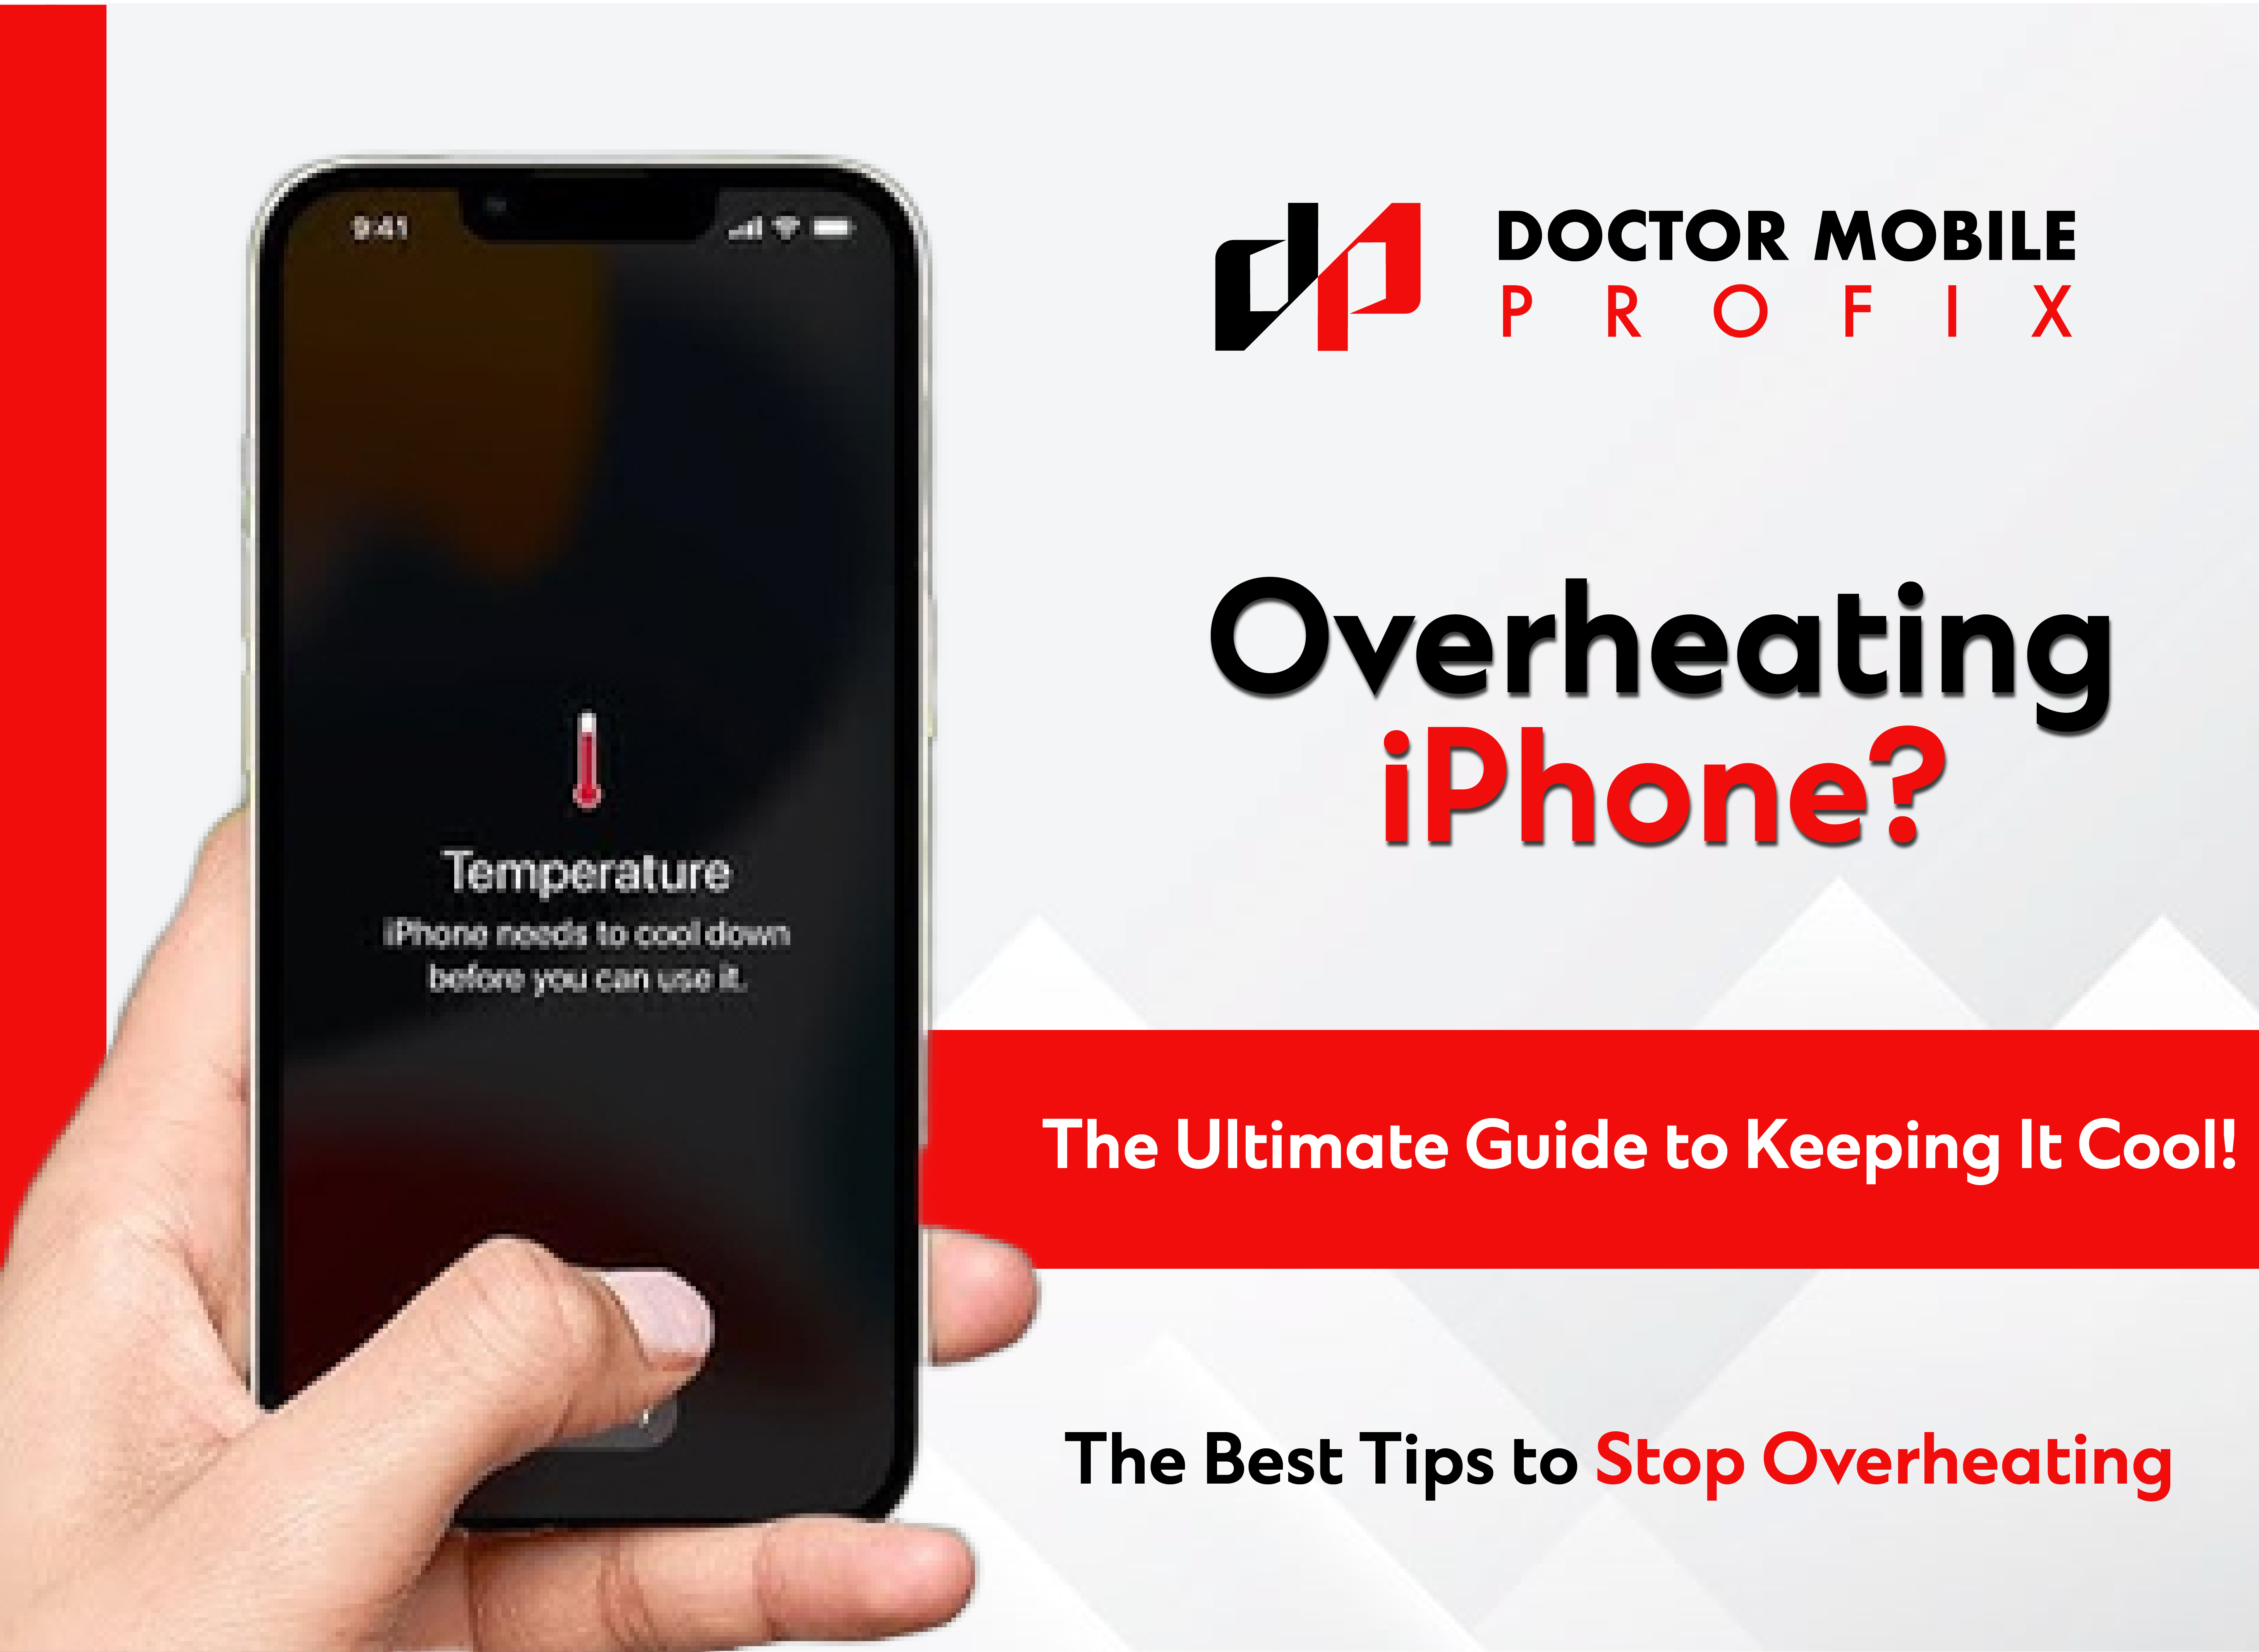
- Overheating: Regular overheating may eventually degrade the capability of the cable or adapter.
Once you understand these reasons and their root causes, finding the right solution for issues with your iPhone charger will be easy and hassle-free.
1. Is Your iPhone the Problem?
It is essential to analyze your iPhone also to ensure it is not causing the charging issues:
- Restart Your iPhone: Sometimes, a simple restart fixes temporary problems. Hold the power button down and slide to power off. Wait for a few seconds, then turn it back on.
- Check Battery Health: Go to Settings > Battery > Battery Health. If your battery health is severely deteriorated, it may not charge properly.
- Update iOS: Faulty or outdated software can also cause charging issues. Go to Settings > General > Software Update to ensure that your phone is running the latest version.
- Check the Charging Port: The port may be damaged or clogged, which prevents it from charging. Use a flashlight to closely inspect it.
If your iPhone charges normally using another charger, then the problem is with your charger or power source.
2. Check the Charger Cable for Physical Damage
iPhone cables do get worn out. Take a close look at your cable for:
- Fraying or Exposed Wires: Inspect the cable length for damage to the outer casing.
- Discoloration: Brown or black stains may be due to overheating.
- Loose or Bent Connectors: Inspect the ends of the cable for bent or misaligned connections.
If your cable has physical damage, here is how to fix it:
Quick Fixes
- Electrical Tape: Frays that are minimal can be wrapped with electrical tape to ensure nothing else deteriorates.
- Heat Shrink Tubing: The damaged area can be covered by using heat shrink tubing. It is then applied to the affected region and sealed through heat application, which creates a strong, rigid fix.
Permanent Fix
- Soldering Internal Wires: If you are a good DIY repairer, you can use a soldering iron for an internal break-fix. Just be careful not to cause any additional damage with wrong soldering.
3. Is the Adapter the Issue?
Your adapter, colloquially referred to as your charging brick, is just as important as the cord. Check for:
- Burn Marks or Scorching: Indications that the adapter may have overheated or suffered an internal failure
- Cracks or Loose Probing: The adapter is physically broken
- Abnormal Noises: Chirps, clicks- means it is bad inside
Test the Adapter
- Insert another cord into the adapter. It should power the device if it is good.
- Plug the cable into another adapter to verify if the problem is coming from the adapter or cable.
Do Not Try to Open Up the Adapter
Opening up adapters in a do-it-yourself approach endangers one's safety and poses potential risks since electrical shock can occur. If the adapter is faulty, always replace it with a certified adapter for safety.
4. Clean Your iPhone Charging Port
A dirty charging port is a common but overlooked problem. Dust, lint, and other debris can fill up the port, preventing the connection between your charger and iPhone. Here is how to clean it:
- Turn off your iPhone: Do not try to clean it while it is still on; this can cause damage accidentally.
- Toothpick or soft-bristled brush: Carefully remove debris while not scratching the port.
- Compressed Air: Use a can of compressed air to blow out stubborn particles.
- Avoid Liquids: Never use cleaning solutions or water to clean the charging port.
- Regularly Cleaning the charging port can prevent this problem from recurring.
- Moisten Detecting through the Charging Port
If your iPhone port has detected moisture, your device will inform you. Moisture in your charging port can harm your device.
- Allow It to Air Dry: Allow your iPhone to air dry in a well-ventilated area for a number of hours.
- Do not use Heat: Avoid using a hair dryer or other sources of heat because too much heat might damage the inner parts.
- Silica Gel Packets: Store your iPhone in a sealed bag with silica gel packets that help absorb moisture.
6. Could the Power Source Be Faulty?
Sometimes, it is not the charger but the power source. Try the following steps:
- Check a Different Outlet: Connect your charger to another outlet to confirm it is not a problem with the outlet.
- Use a Surge Protector: Use a surge protector to protect devices from any change in the power supply.
- Test with a USB Port: Insert your charger into the USB port on your computer and test if it works.
- If it works using another power source, then the original outlet is probably faulty.
7. Fixing a Frayed Cable
If your cable is frayed but still working, try these techniques to extend its lifespan:
- Using Silicone Cable Protectors: They are cheap and can prevent the cable from further fraying.
- Self-made Cable Reinforcement: Take a small spring, like from a pen, and wrap it around the connector to add extra durability.
- Replacing Severely Damaged Cables: If the internal wires are exposed or broken, it is best to replace the cable.
8. When to Change Your Charger
If your charger is damaged and cannot be repaired, it is time to change it. Here are some tips for choosing a good quality replacement:
- MFi-Certified Accessories: Apple-approved chargers ensure safety and compatibility.
- Durability: Braided or reinforced cables are long-lasting and withstand wear and tear.
- Steer Clear of Counterfeits: Cheap, non-certified chargers might not work right and can be hazardous.
9. Preventive measures to take care of your charger
The right care of the charger can ensure its long usage and save you money. The preventive tips are as follows:
- Pull the plug instead of the cable to avoid tension.
- Store your charger straight without twisting and bending.
- Use a special charging area so your charger is not used in a place where it might get pulled or be damaged accidentally.
- Clean the connectors and charging port regularly to ensure a good connection.
10. If the Problem Continues
If you have followed all of the above instructions and your charger is still not working, then the problem may be a bit more complex. You may need professional assistance:
- Call Apple Support: They can guide you or direct you to the repair option.
- Go to Dr. Mobile: We are professionals who can diagnose and repair your iPhones, chargers and accessories. We only use high-grade replacement parts and accessories.
Final Thoughts
Thoroughly analyze the functionality of your iPhone and its accessories before taking any steps to fix potential issues. In any case, safety should come first. When your charger is badly damaged, or the DIY fixes fail, the best option would be to replace it with a certified charger. Drive back into Doctor Mobile Profix for professional repairs, quality replacements, and expert advice. Catch up with us today to keep your devices powered and connected.